Sunday, April 29, 2007

It's Alive!


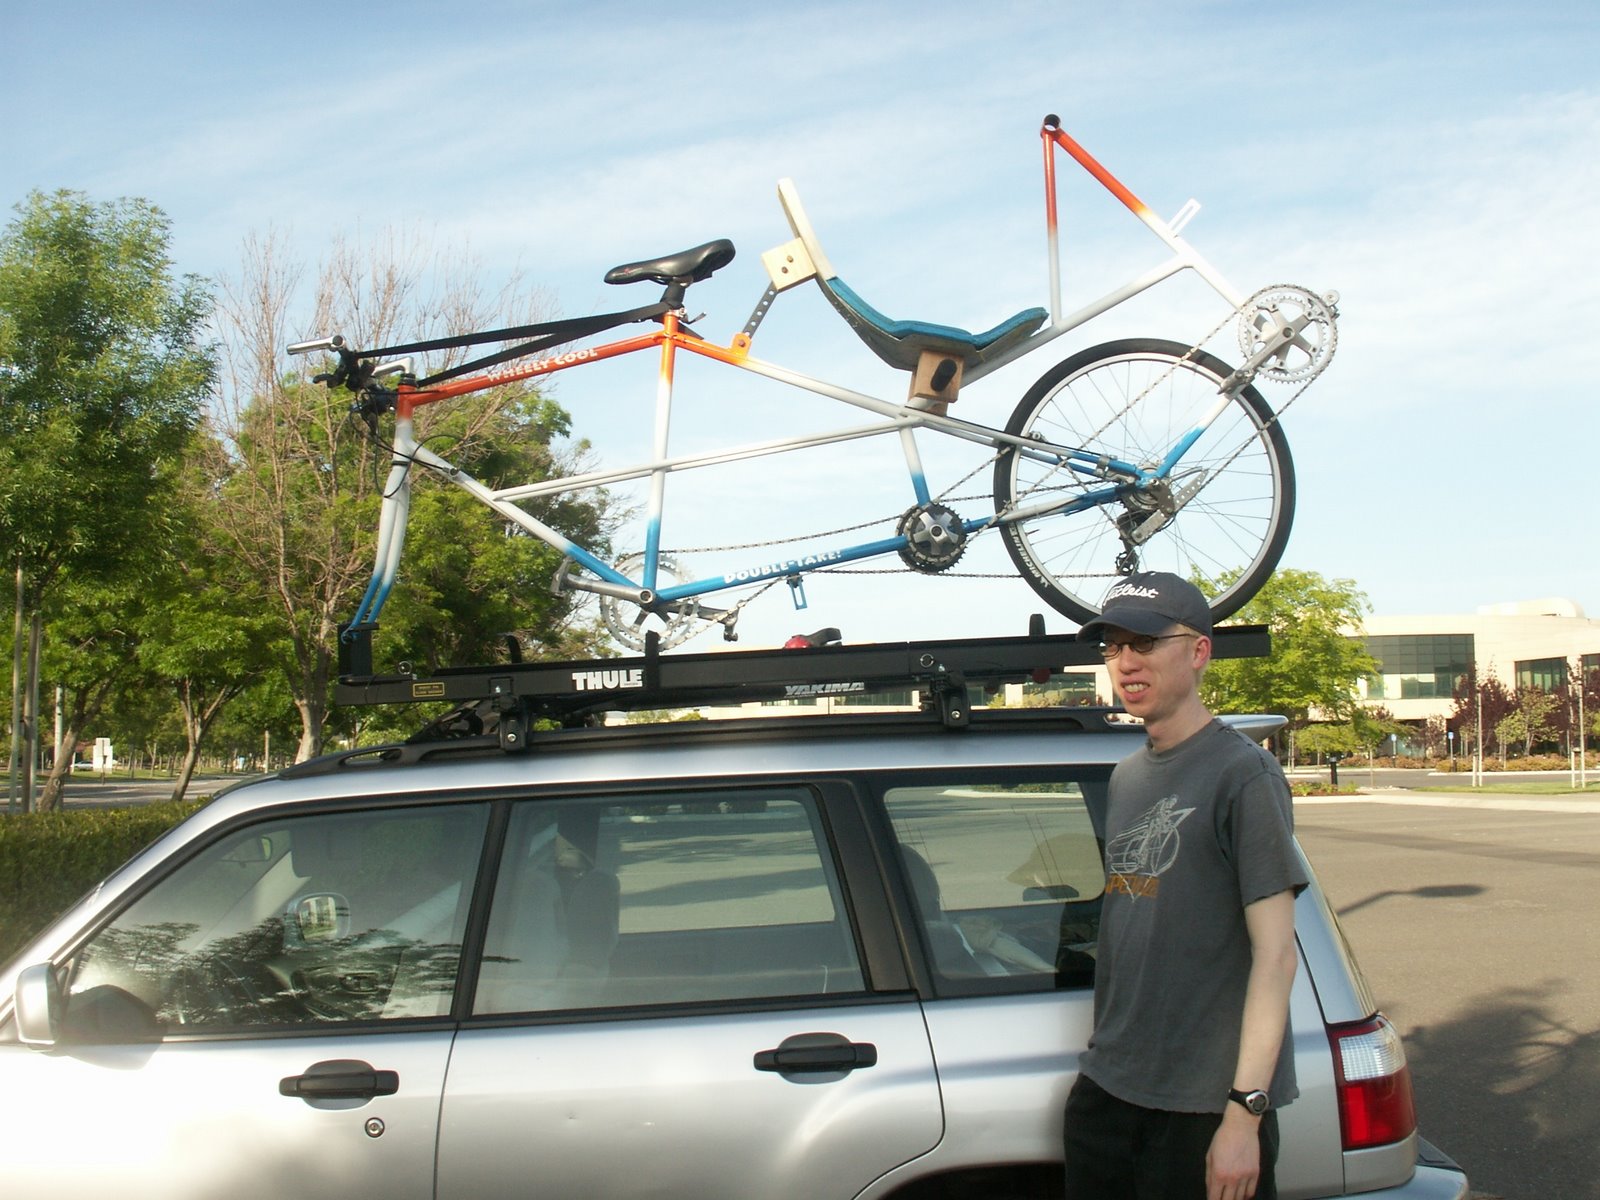
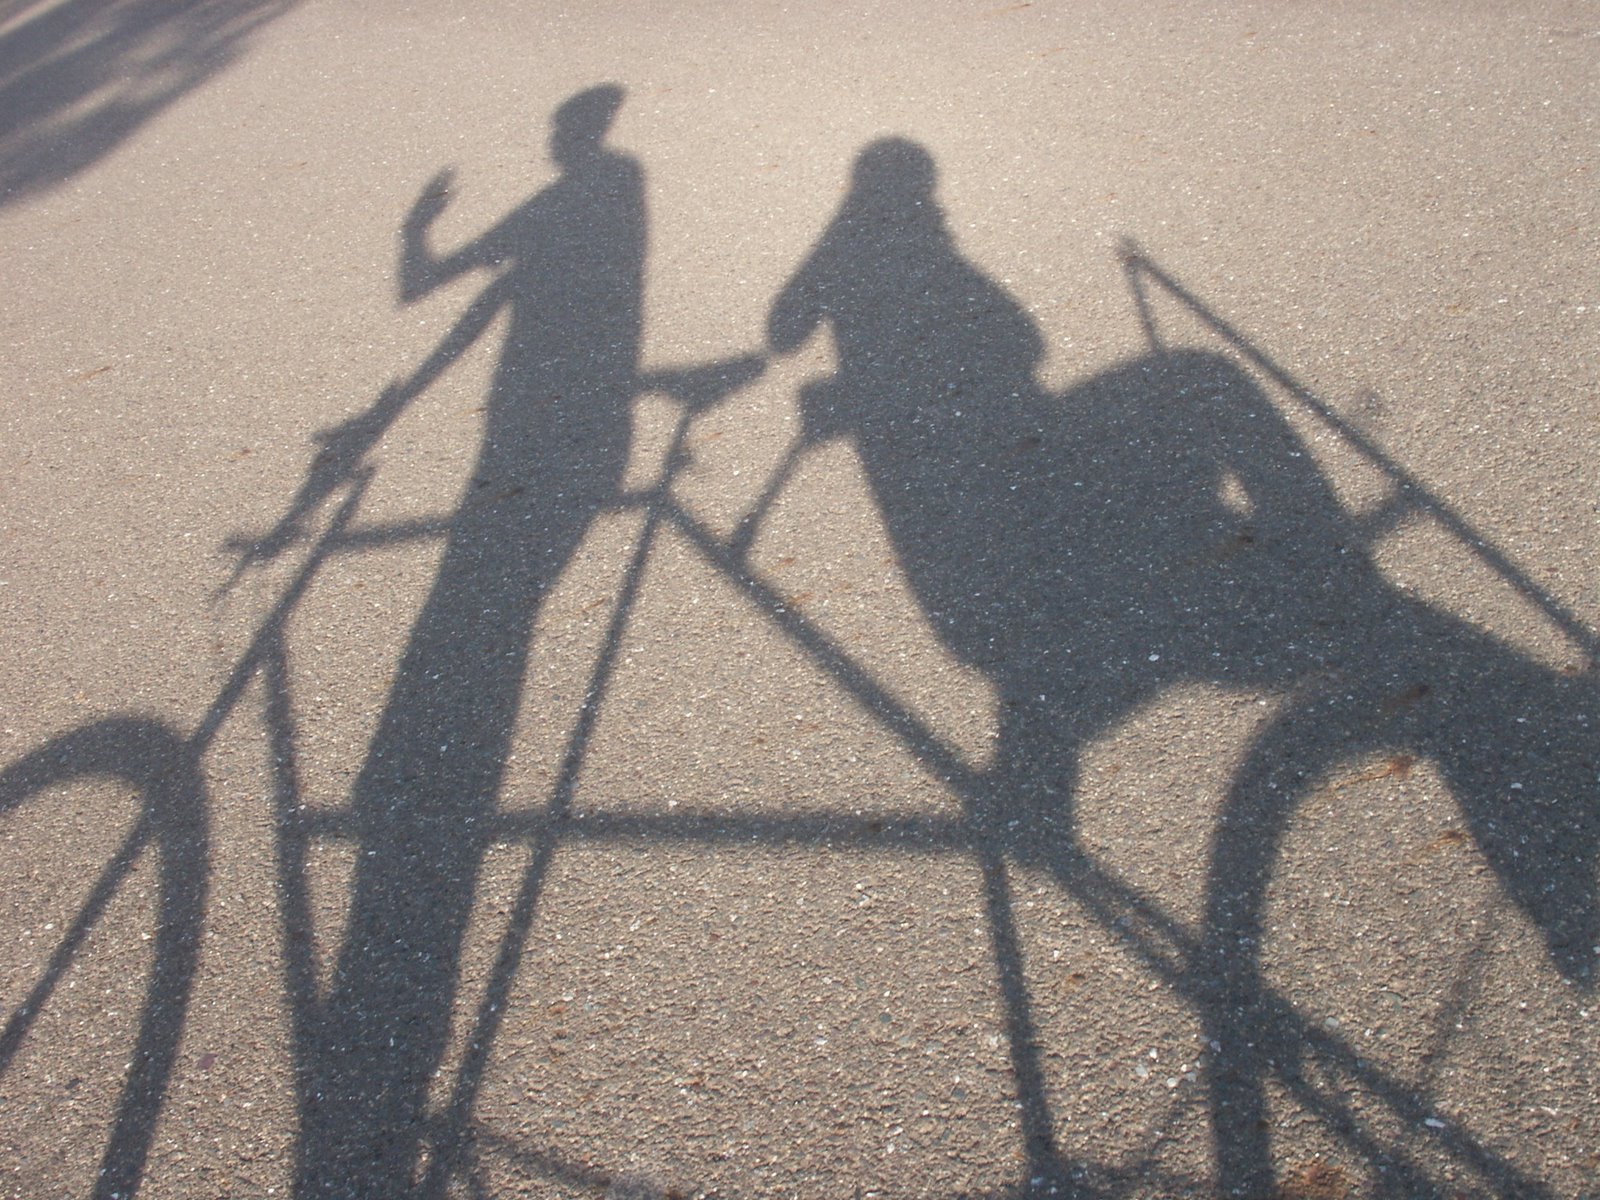
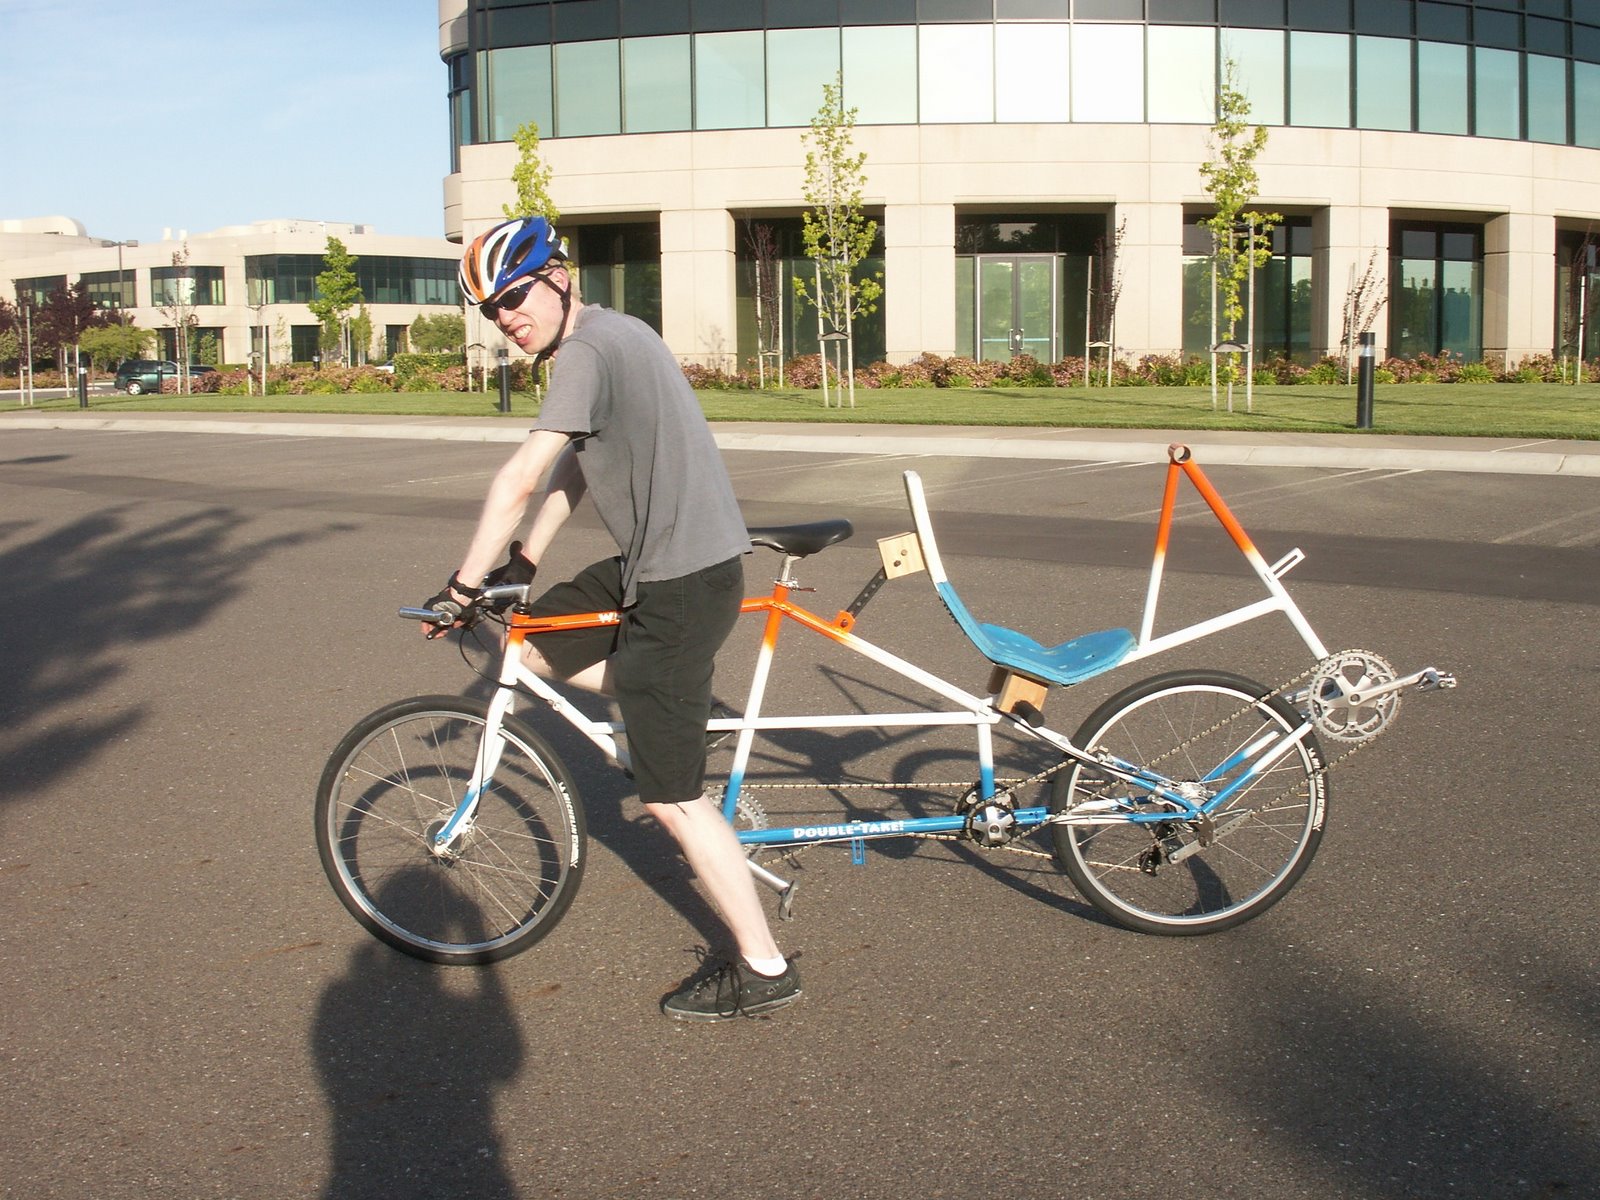
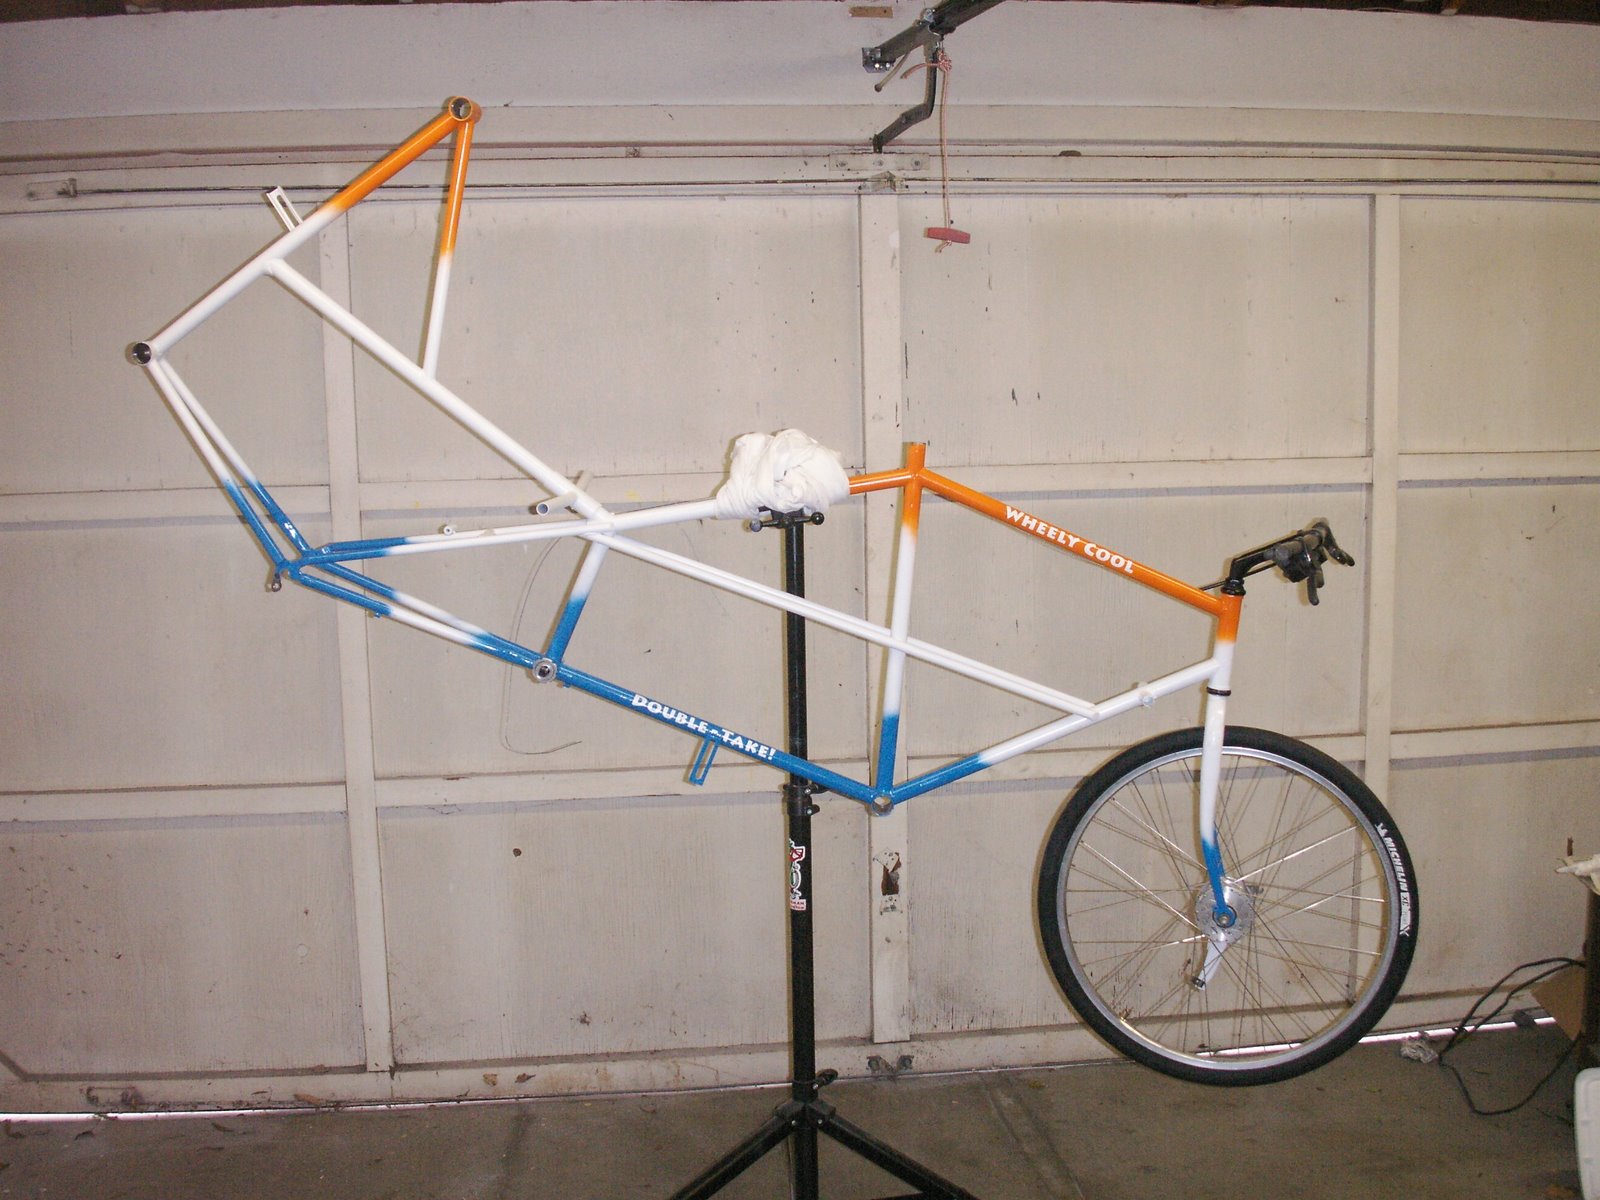
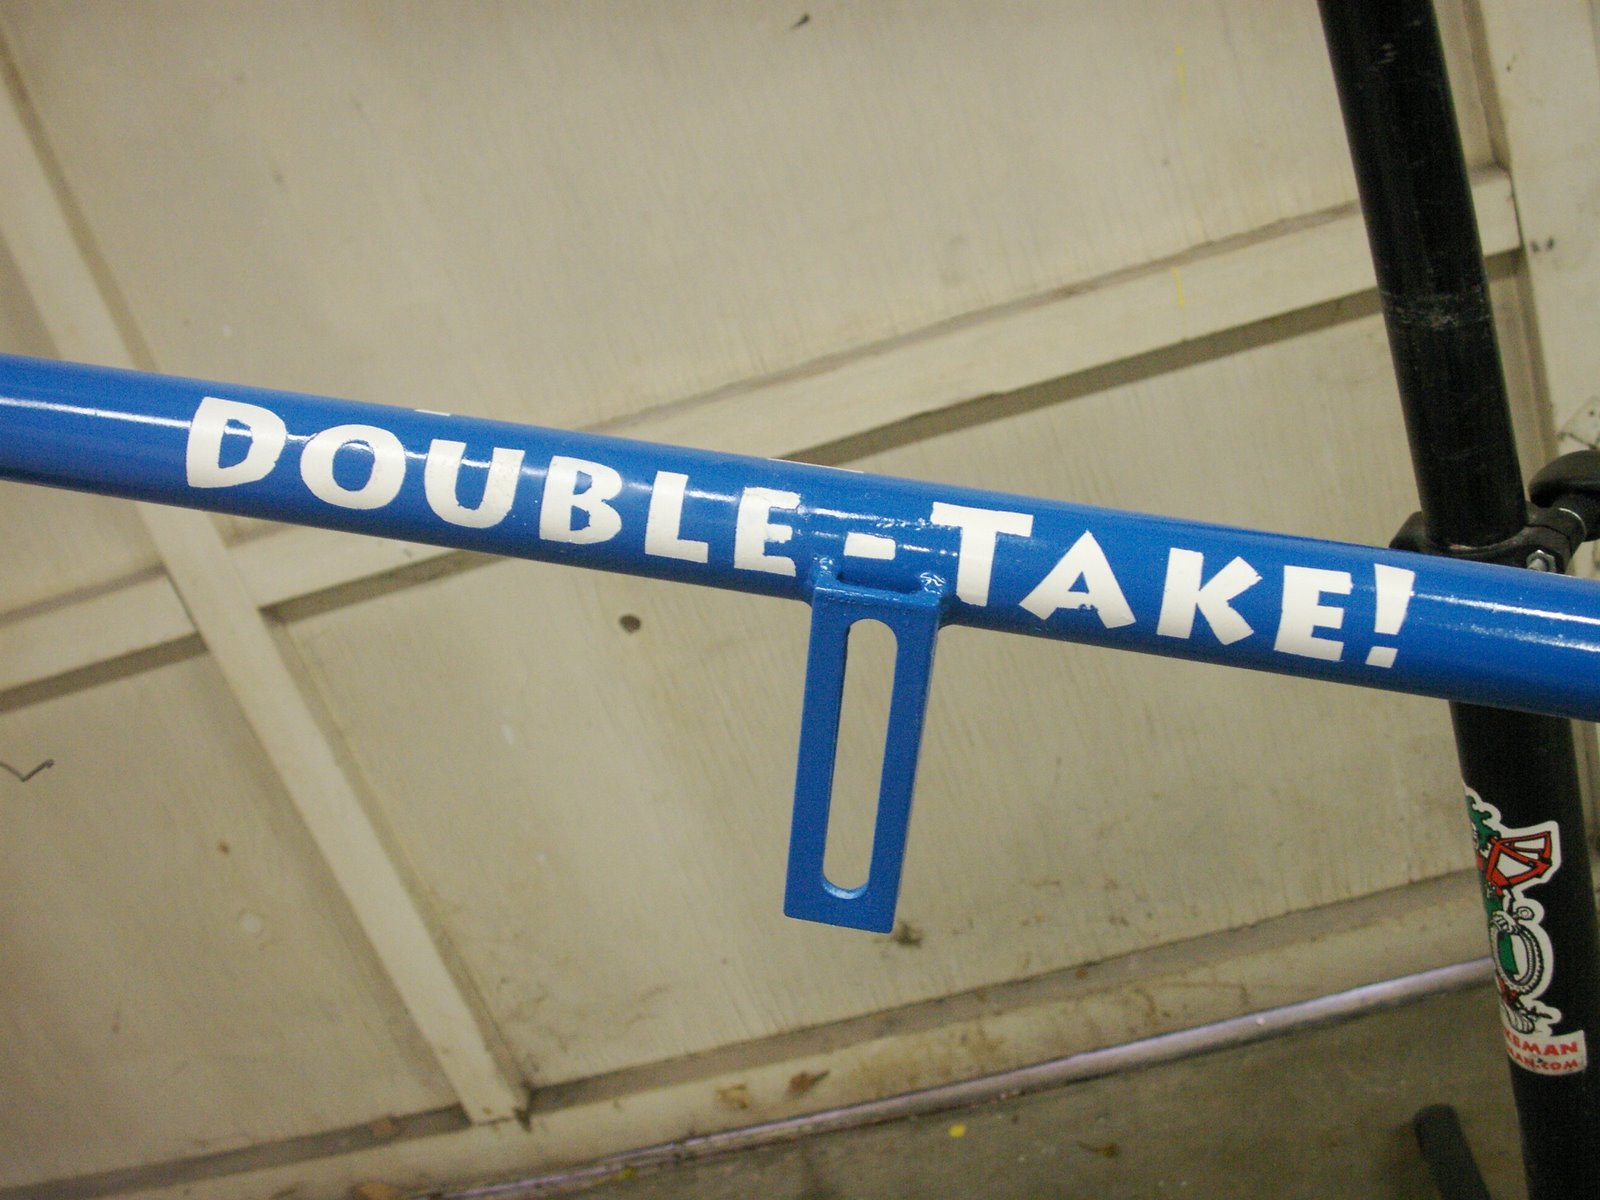
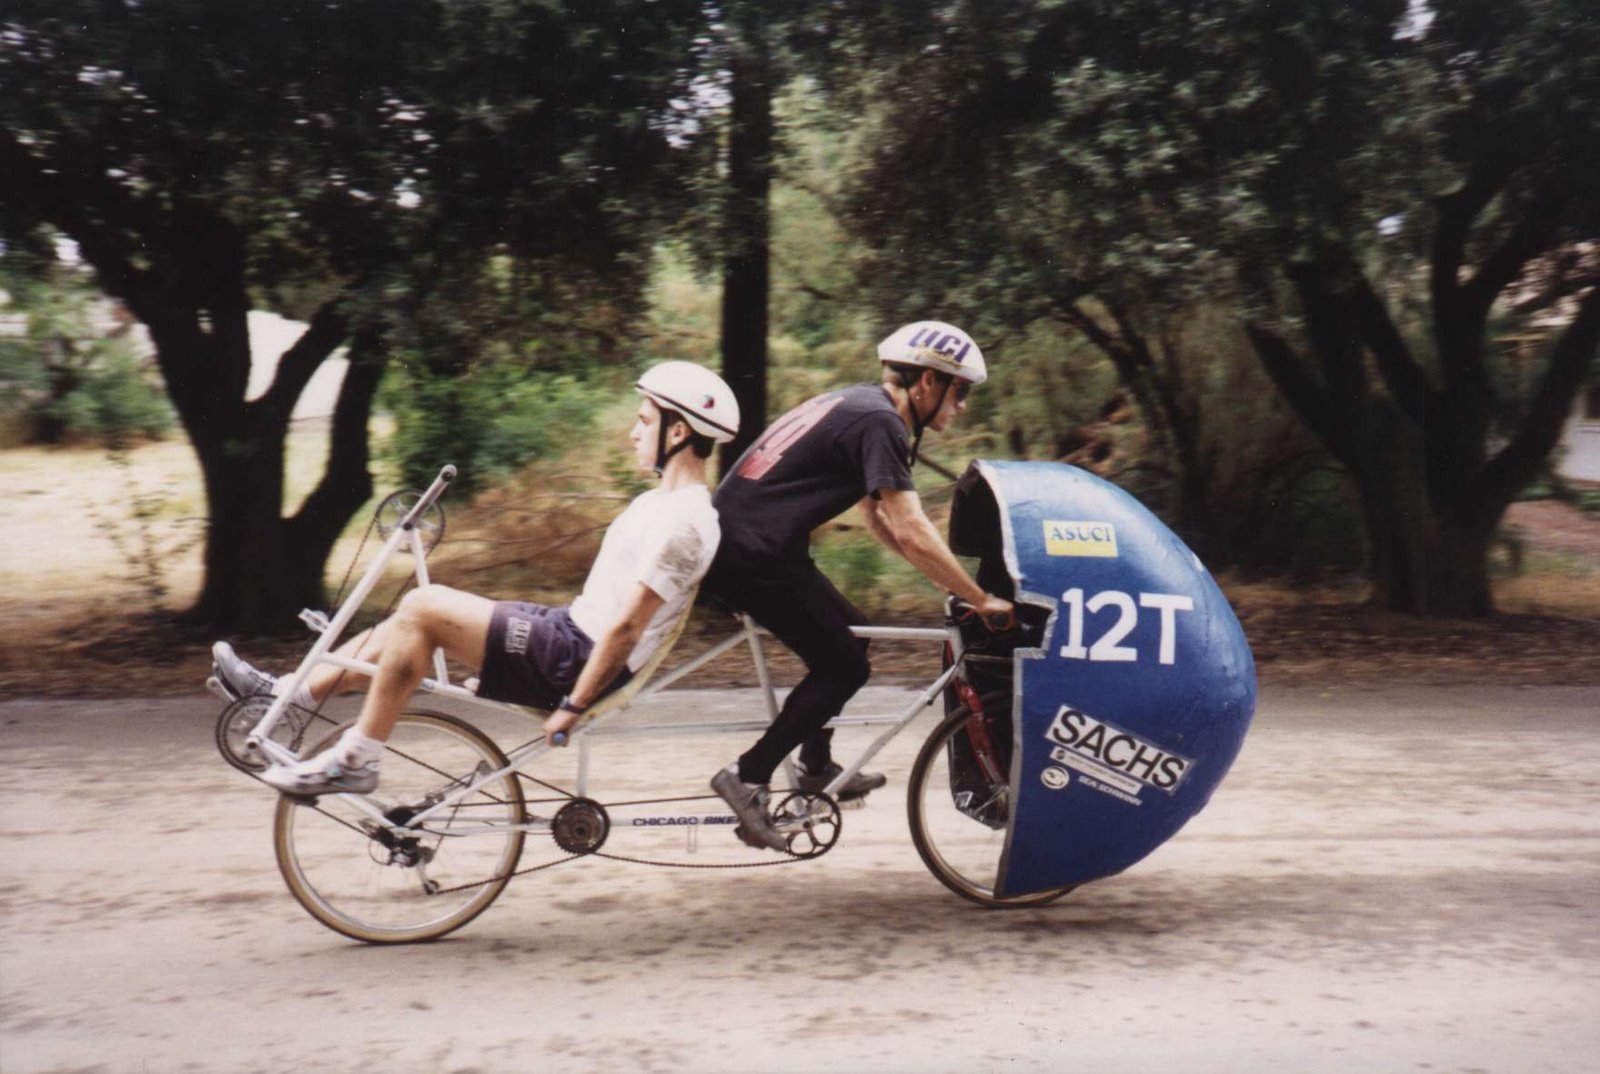
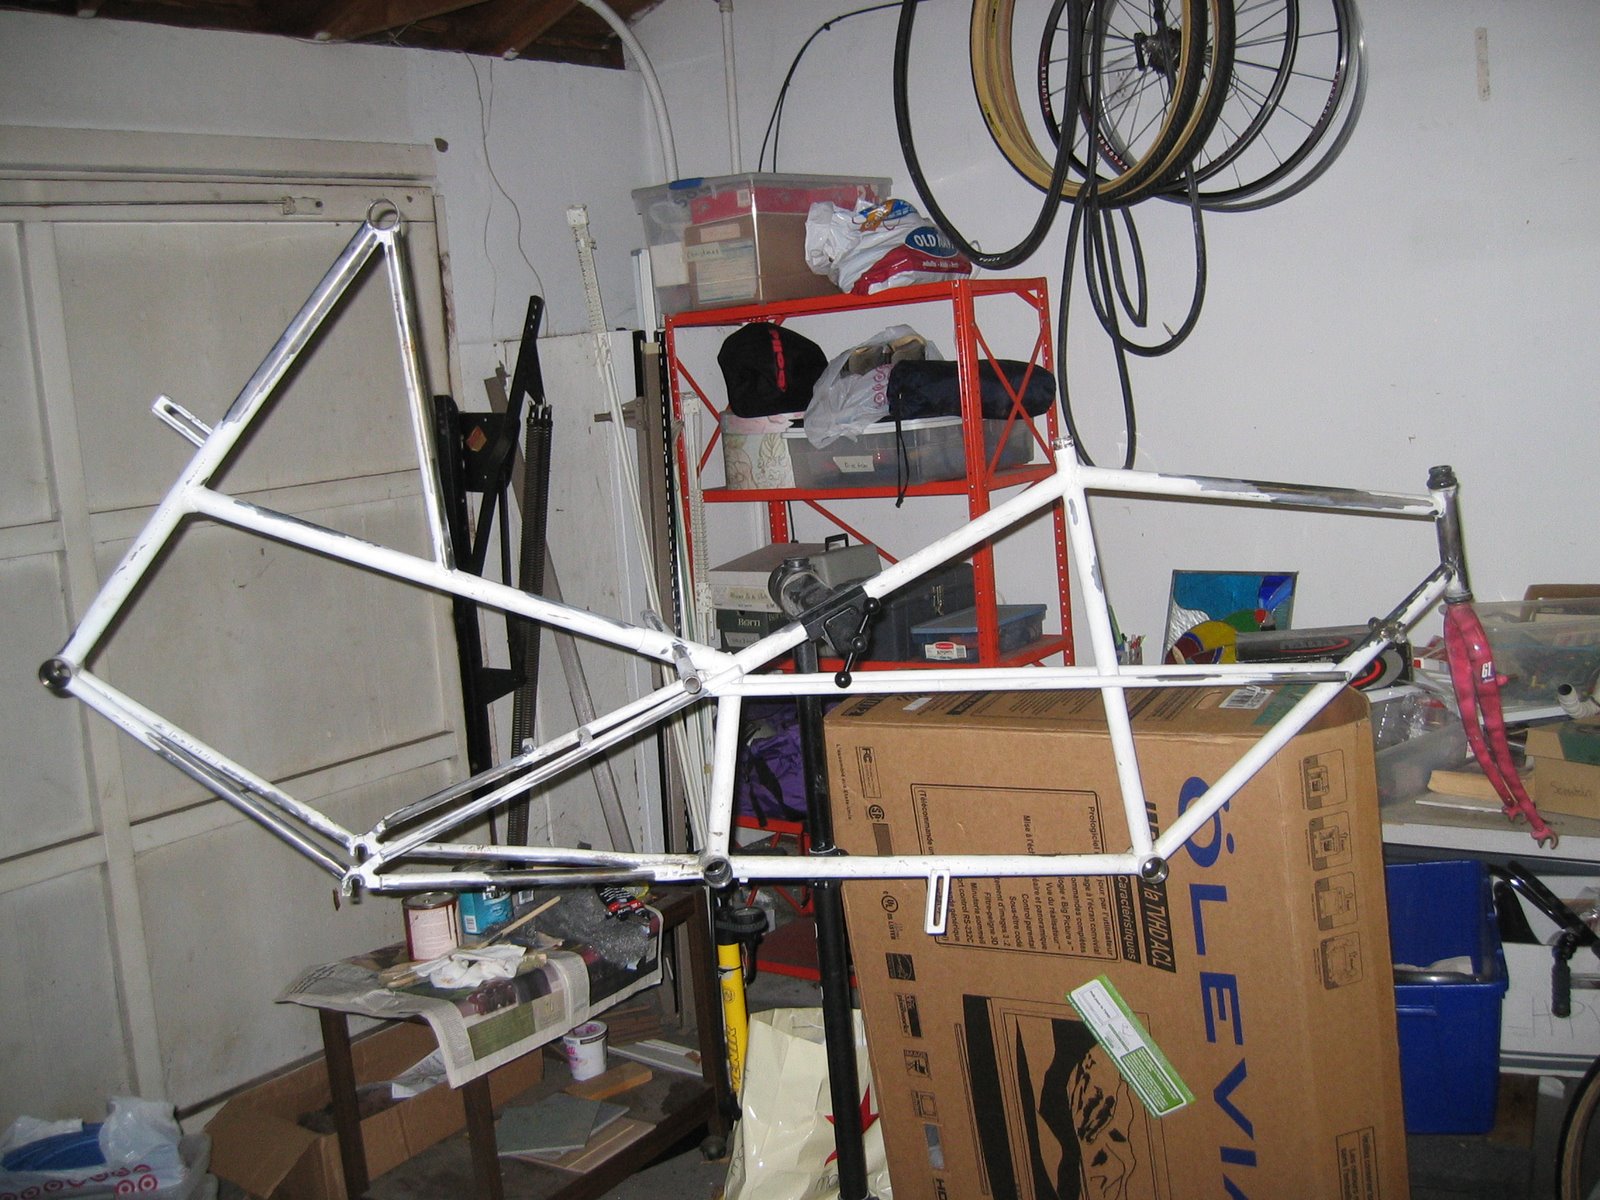
Well after many hard hours of work, We test rode the bike today in a parking lot (away from traffic). It held together, with a few little bugs, so I'd call it a success. Alicia was taking the photos, as you can see her shadow as we both sit on the bike. Tomorrow we will try it on the road!
 

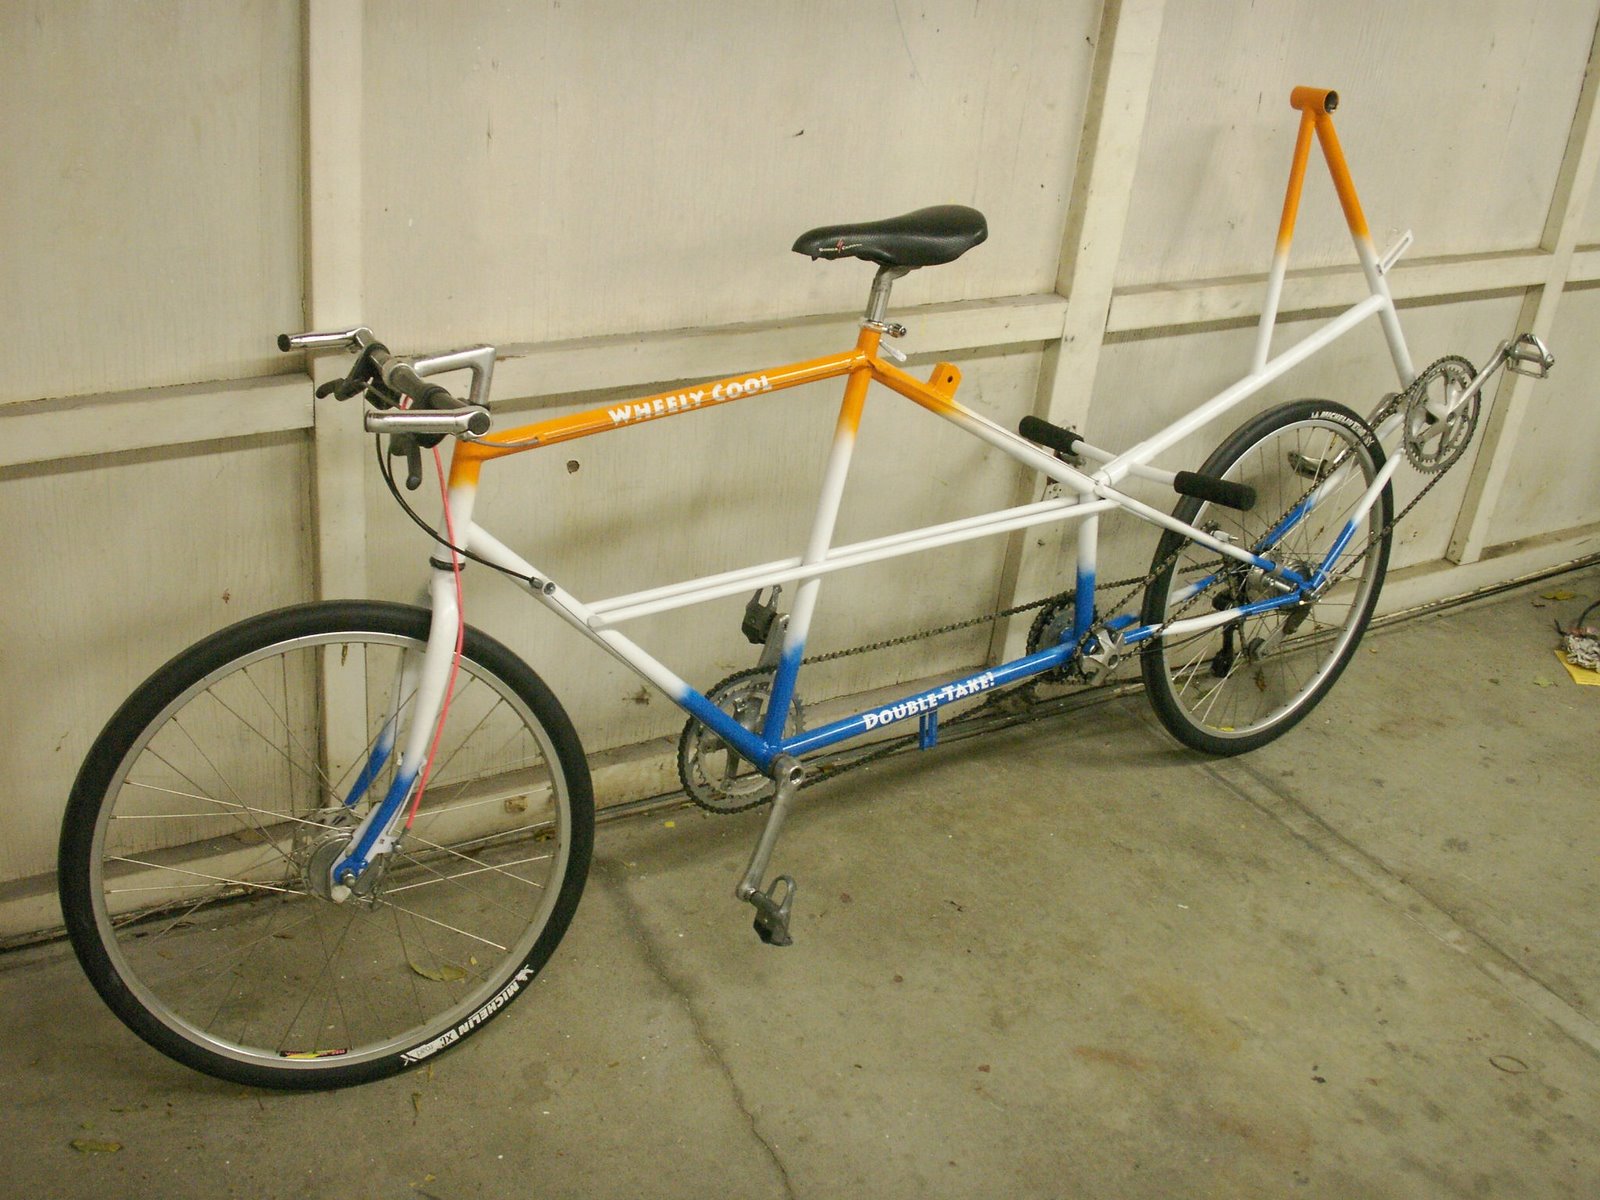
I'm kind of sick of my hands being greasy every night. I've used gloves before, but this time there were just too many times where I had to remove them or they would get pinched between parts. Maybe it's a little better for the environment, or not with all the hand washing. We're both very excited to be able to ride the Double Take finally. Tomorrow will be a good indication of how my modifications worked and also how good of shape we're both in. And it's plenty of time to tweak mechanically before Napa. I can't say the same for our legs, but we'll see what happens!


Posted by Picasa

Tuesday, April 24, 2007

On the ground


Here's a first crack at getting the wheels on the ground. Almost everything is in place except for the stoker seat and hand cranks. The chain lines are not quite right and the crossed chain falls off easily. So I have some more work to do in fine tuning chain line and tweaking the tension adjusters.
Posted by Picasa

Monday, April 23, 2007

Sachs Orbit Hub


If you've ever serviced a bicycle, you might be looking at this picture and wondering what these parts are. Totally uncommon and actually now obsolete, these are the parts of a Sachs Orbit 2x7 Internally geared hub. The 7 speed cassette is non-standard. it has 2 sets of freewheeling pawls: one which engages the axle, and one which engages a planetary gear reducer. The planetary gear reducer allows a 0.7 gear reduction compared to directly driving the axle. Selection between the two drive systems is done by a spring-loaded latch which causes contact either between an internal coupling or external coupling of teeth. I guess describing any more is pointless without diagrams. But basically, it's an insane idea, which actually works. Here I have taken it fully apart to lubricate everything. I took the hub to a local bike shop at first, because I had no idea what would happen if I opened it up (imagine little gears flying everywhere), but they returned it to me improperly assembled and lubed with grease. So I tackled the job myself this time, and carefully figured out the assembly, while re-lubricating with teflon oil. Grease actually made everything sticky, so the oil seems to be the trick.
 

Here's the little planet gears mounted to their carrier. The annular part of the gear is actually built in to the freehub body. In the future, I plan to write up a detailed tear down and reassembly of this hub to post on this website for other people out there to find, because I was unable to find anything on the net to help me with this. But for the sake of brevity and time, that will have to be at a later date.

You might ask why is this special hub necessary? The original design of the bike did not use a front derailleur, because I was a little naive about how to design a tandem using multiple chains and connecting them all together. So in the drive configuration i came up with, there was no room for a front derailleur, and hence lack of a lower gear range. In 1991, this product was introduced by Sachs (one of our coorporate sponsors) which allowed for a gear reduction without the need for a front derailleur. So I put 2+2 together and went with the Orbit. Probably not wise to rely on such a special component to drive a whole bike design, because at this point, finding spare parts for this obsolete item is near impossible.
Posted by Picasa

Friday, April 20, 2007

Bling Bling


Having some technical difficulties with the digital camera/memory card, so I have been unable to post pictures of the lettering process. But I can tell you it was highly educational. Using Alicia's camera, I can show you the resulting painted badges. I used a positive mask to overspray blue and orange over the white basecoat, allowing the letters to show in all their contrasting glory. I chose vinyl contact paper as masking material, which might have not been the best choice. There was some undercutting of paint in certain areas, but from far away, it looks very nice.
 

Not quite ready to assemble, but I wanted to throw a few parts on there to enjoy the moment. The color fade is my tribute to Alexi Grewal's 1984 Gold Medal winning race. He rode a Pinarello with a similar fade that kind of set a trend for bikes in the 80's.
 

Close ups of the lettering.
 

I had planned on shooting clear coat over the whole thing, but found out that there is no clear coat in a spray can. So we're going commando with minimal protection from rocks, scratches, and maybe even someone's fingernail. oh well. I've run out of time to fret over cosmetics, It's time to get this thing rolling!
Posted by Picasa

Tuesday, April 17, 2007

Painting the Double-Take Part 1


I decided to go with the Wheely Cool colors of white, blue and orange to give this bike lots of flair. Rust-O-leum has a new deluxe paint that looks promising.

I set the frame up on my bike stand (covered in newspaper) sitting on the seat post, ,upside down. With the seat post in the seat tube upside down, it allowed a good, balanced stand for the frame while allowing me to rotate the whole frame around to change angles for spraying. Although the only flaw with this method is the upside-down position made it hard to paint the top of the bike, which is what most people will see. So I had to crouch down and shoot the can upwards, getting lots of overspray in my face. Goggles helped, but a full face shield would have helped more.

While spraying the white primer, the can seemed to be defective and spewed lots of paint right out the sides of the valve, getting paint just about all over the can and my hand. Never seen anything like this, and I'm glad I draped the whole area. A smart person would have stopped and bought a new can of primer, but I'm on a schedule here, so I had to press on.

After one coat of white, it's looking pretty nice already, but we're not done yet. The white is a base for the real design... up next!
Posted by Picasa

Monday, April 16, 2007

Frame Modifications


One of the first things I have had to do is make a few frame modifications. There were interference issues when the bike was converted to a 7 speed freewheel, and also I have decided to run fatter 26x1.4 Michelin slicks on borth front and back wheels. This required some grinding of the metal to make room, and re-welding to maintain the structural integrity. So I hit the frame with a 4" grinder and later enlisted the welding services of my friend David Wright (DAW in some circles). David has helped me with welding projects in the past, including Robot Wars building many years ago. It was like old times, but this time i also got a dinner out of it from his wife, Eva. (Thanks, Eva!) I should also note that Eva herself has helped me with sewing projects like Zoo Beans prototypes - but I begin to digress. They are truly a helpful pair.

These are pretty simple modifications, but will pay off down the line, with more gear selection and cushier, more reliable tires. The brake bridge in the picture was originally placed there to fit a 26x1.25" tire, and no bigger, to allow for a short reach caliper brake. But we soon realized that for a vehicle this size and weight, drum brakes were necessary to safely control the speed on descents.


Also added a bracket for the stoker seat, which I have yet to design the adjusting mechanism for. The original seat was fixed for a 5'7" average rider - so I'll need to make it adjustable to fit Alicia's 5'2" frame.

Next step: Painting!

Wednesday, April 11, 2007

Back in the day


Here's a picture of the old M.E. Hammer back in 1993 - with the original paint scheme. This is after the first competition (a bittersweet 2nd place overall in the multi-rider category) with the fairing removed. The guy riding stoker is me and the guy riding captain is John Webber. As a freshman, he rode for my team - and afterwards I convinced him to carry on the project, and re-enter the competition with a team of his own.
 

And this is a picture from 1994 in it's second competition. John Webber made some changes to the design (and paint scheme) and went on to win 1st place overall in the multi-rider division. Here John is piloting the vehicle in the straightaway sprint to reach top speed.
Posted by Picasa

Flashback 4 years ago


Time flies when you're having fun. Here's my blog from 4 years ago while training for my first Tour de Cure (100 miles)

Tour de Cure 2003

The Double Take - Introduction

 
This is the frame of a tandem bicycle built during my college days. It was my senior design project, and I led a team of 5 students to design, build and race this machine against other college teams. We were scored on design innovation, top speed, and endurance racing. Sponsored by the American Society of Mechanical Engineers, the competition is called the HPV Challenge (or Human Powered Vehicle), and still goes on today.

My goal is to get this thing running, after being dormant for 15 years, so that Alicia and I can ride it for the Tour de Cure on May 6. It's a lofty goal, because there are some parts that this design requires which are no longer to be found in the bike industry. Furthermore, this was a student project, and a prototype one-of-a-kind, so there are many built-in flaws inherent to the design of this bicycle that mus tbe solved in the near term to make it reliable for a 50 mile bike ride.

In it's original form, with a full fairing, it was called the "M.E. Hammer" because we were mechanical engineers, (and I liked a little hip hop). But now, in it's reincarnated state, Alicia and I have decided to re-christen it the "Double Take" because it is not only a bicycle built for two, but it is also a spectacle on the road which will draw more than one look to appreciate.

This is the ultimate Wheely Cool project.
Posted by Picasa